UPDATE October 2022: Raspberry Pi prices have significantly increased due to short supply. They used to make more sense as machines for basic servers, though now you might be better off following the AWS guide, or using an old computer instead of the Pi.
The tutorial applies the same for (basically) any PC running linux, just keep it in mind!
Introduction
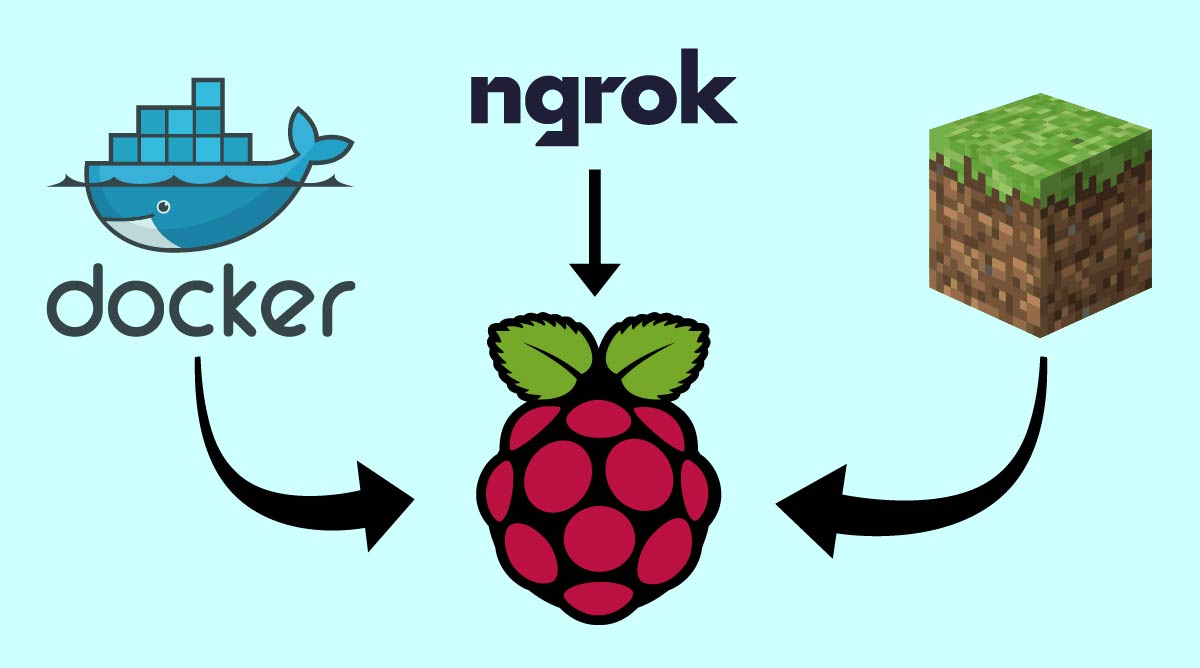
While I have talked about Minecraft servers in the past on this website, I thought of something that could be more accessible and easy to set up. While my AWS Minecraft server using docker is by no means advanced content, it does have areas that are harder to navigate through for beginners. I believe this method of setting up a minecraft server bridges the gap of accessibility, functionality and ease of use that many humble Minecraft server admins are looking for, people who just want to spin up a server and have it running full time so that they can connect when they desire, and not having to worry about VPS provider’s free tier limits and pricing, port forwarding and static IPs.
If you already have a server running on your machine and want to simply open it up to the internet using ngrok, skip ahead to this section.
That being said, let’s get to it!
Setup and materials
For this tutorial you will need:
- A windows, mac or linux computer.
- Raspberry pi 4 (At least 2GB model recommended, though it depends on how many people will be on your server)
- 16GB or larger micro sd card
- Ethernet cable
- Power adapter for the pi
You can find a link to a kit here: https://amzn.to/3BMtZTQ
Firstly, install the OS on the pi. For this I use the official Raspberry Pi Imager.
Plug in your SD card to your PC, select the OS you want to install, select the SD card that you plugged in (make sure it is the right one!) and hit write. Let it write and ignore any file explorer windows that may pop up.
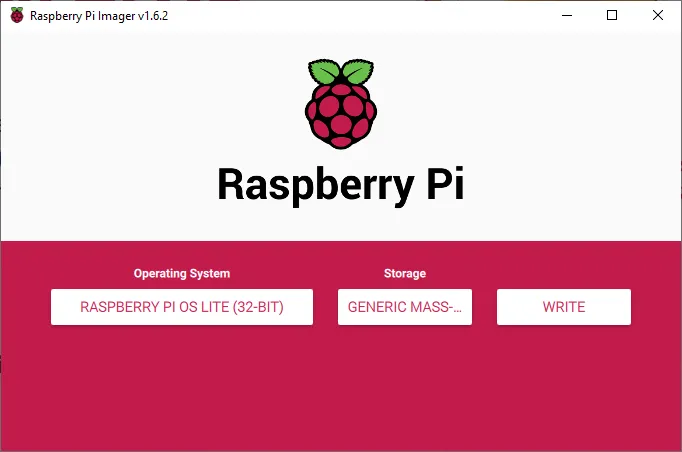
I am going for the Raspberry Pi OS lite 32-bit version, since I have a 4GB raspberry pi. The lite version does not come with a desktop environment, and for the purposes of this tutorial it will not be needed, but feel free to install a version with the desktop environment if you prefer. Also, choose a 64-bit OS if you have the 8GB model of the raspberry pi, in order to take full advantage of the pi’s RAM.
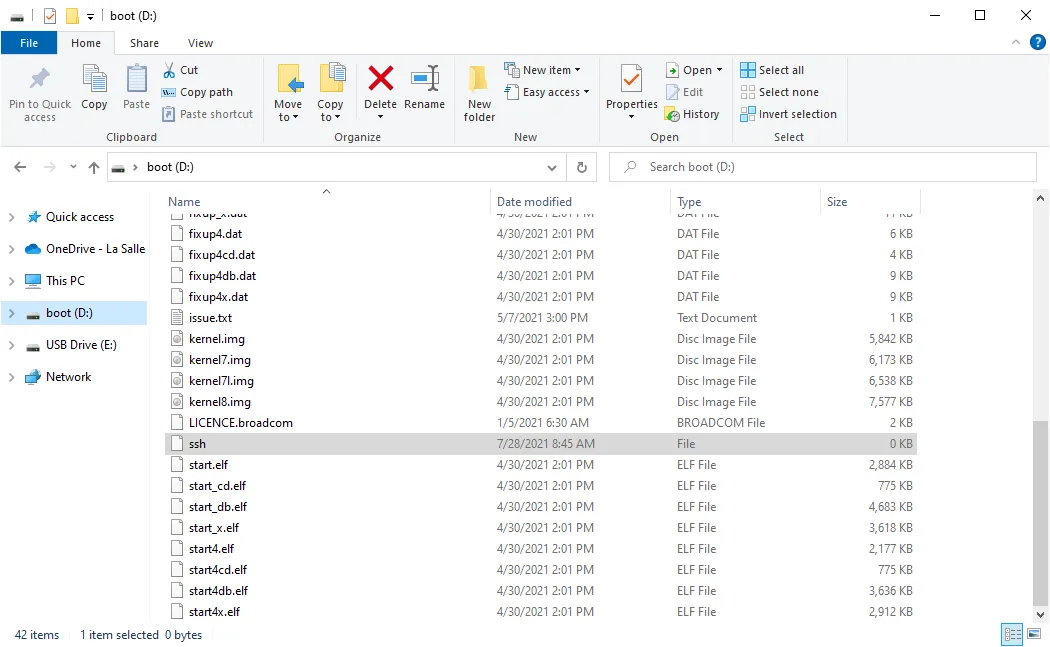
Then once that is done, ignore any warnings windows may give saying the drive needs to be formatted. Unplug and re-plug your sd card into your PC, open the drive labeled “boot” and create a file on the sd card that you just imaged called “ssh” no extensions or anything. It should look like this:
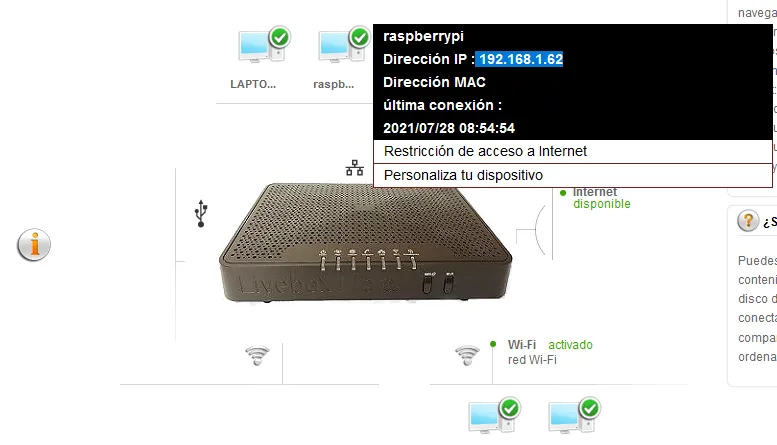
Plug your sd card into your pi, and connect the ethernet and power cables. Wait a minute for it to boot up and find it’s IP address. You can do that by visiting your router’s configuration site or with software like [Angry IP scanner][angry-ip-scanner]. If you don’t know what your router’s IP is, here is an excellent article going over how to find it. Once there and logged in, check the connected devices. For my router it looks like this:
Once you have its IP, ssh into it. If you are on mac or linux, you can use the following command from your terminal:
ssh pi@<ip-address> where <ip-address> is the IP of the raspberry pi.
If you are on windows, you can use software like Putty, insert the pi’s IP into the address box and click connect. Type yes when prompted to.
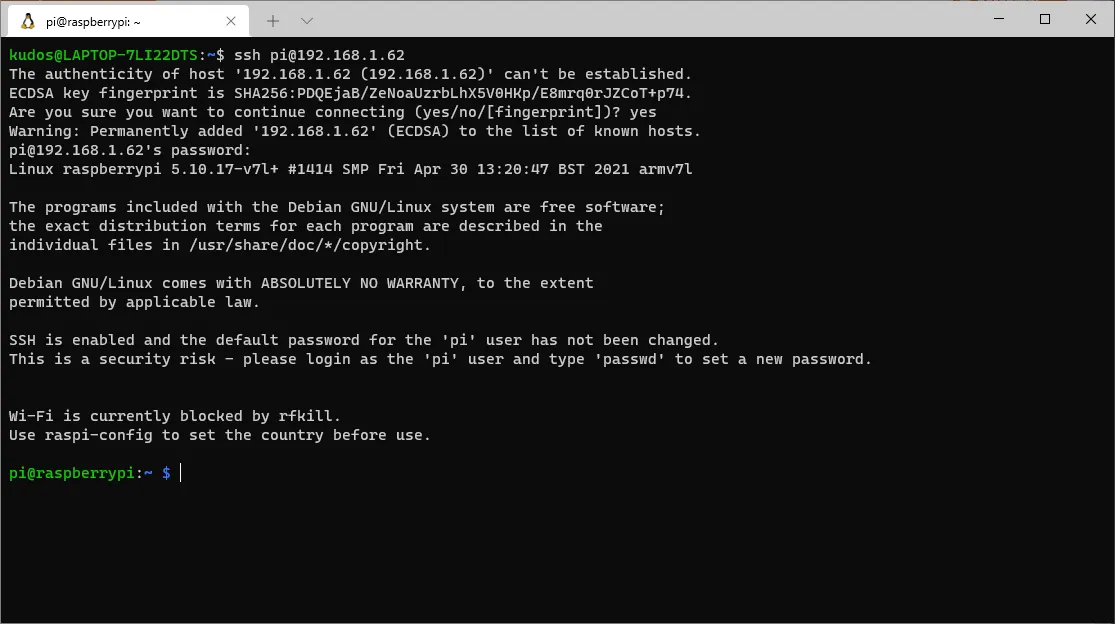
The default password is “raspberry”. Change the default password as soon as you log in by typing passwd and following the prompts.
Now update the pi using sudo apt update && sudo apt upgrade. This will take a few minutes. Once that is done, reboot the pi using sudo reboot now and wait a minute for it to come back up. Once you connect to it again, you can move on to the next step.
Installing Dependencies
We will be using this docker image to build our server. This is the same method I used for the AWS minecraft server method, and I love it since it makes the server easily maintainable and manageable. Thanks to the author and contributors of this github repository for the amazing work!
For this we will need to install a few things. Altogether this will take around 15 minutes, depending on your internet connection.
Install java: sudo apt install default-jdk.
Download and install libseccomp2:
wget http://ftp.de.debian.org/debian/pool/main/libs/libseccomp/libseccomp2_2.4.4-1~bpo10+1_armhf.deb
Then install the downloaded file:
sudo dpkg -i libseccomp2_2.4.4-1~bpo10+1_armhf.deb
This is the version that is most up to date as of writing this tutorial. You can check for the latest version and mirror links using this link: https://packages.debian.org/buster-backports/libseccomp2
Finally we need Docker itself, and for this, run the following commands separately one after the other:
curl -fsSL https://get.docker.com -o get-docker.shsh ./get-docker.shsudo apt-get install -y libffi-dev libssl-dev python3 python3-pipsudo apt-get remove python-configparsersudo pip3 -v install docker-compose
Give permissions to the pi user to run docker commands:
sudo usermod -aG docker pi
Then reboot the pi (sudo reboot now) and log back into it. We should now be ready to set up the server.
Starting up the server
Firstly, create a directory for the minecraft server and cd (change directory) into it:
mkdir minecraft-server && cd minecraft-server
Create a docker-compose.yml file:
sudo nano docker-compose.yml
Paste the following contents into the file:
minecraft-server:
    image: itzg/minecraft-server
    container_name: minecraft-server

    ports:
        - "25565:25565"

    environment:
        MEMORY: 1G
        EULA: "TRUE"
    tty: true
    stdin_open: true
    restart: always

    volumes:
        # attach a directory relative to the directory containing this compose file
        - ./minecraft-data:/data
Keep in mind that by doing this you are accepting the minecraft EULA.
To exit the file, hit ctrl+x followed by y and enter.
Again, thanks to the creators of this minecraft image. If you want to see what other options and parameters you could play with, check out the github repository.
What is this docker-compose.yml file we just created? This file will tell docker how and what image to build. the first line is the name of the container, this could be anything, I chose minecraft-server so that we can easily identify it. It is also again specified in line 3. the other important parameters are the MEMORY under environment, and the volumes section.
The memory is set to 1 gigabyte, but you can change it, by for example typing 2G instead of 1G. Just make sure it is less than your raspberry’s total memory.
To run the server, simply type docker-compose up -d. Then Docker will download the image files and start the container. Once the downloading has finished, you can check the status of your docker container using docker logs -f minecraft-server. If you see the minecraft server startup logs, then it is working! To exit the logging view, hit ctrl+c.
You will also find that a folder called minecraft-data has been created. This is where all of your server config files are located.
To check if you can connect to it, open up the minecraft application and type in your raspberry’s IP address into the server address box when adding a new server. Refresh and if you see it come up, it is working!
Opening your server to the internet with ngrok
Firstly, you will need an account to use ngrok. Sign up here.
Once you have an account, back in the raspberry pi screen, change back to the home directory using cd ~, then download and extract ngrok with the following commands:
wget https://bin.equinox.io/c/4VmDzA7iaHb/ngrok-stable-linux-arm.tgz
tar -xvzf ngrok-stable-linux-arm.tgz
Test to see if it is installed by typing ./ngrok help. If you get a list of commands that you can use with ngrok, then it is working properly.
Then configure ngrok to use your auth token with the following command:
./ngrok authtoken YOUR_AUTH_TOKEN
The token can be found on the ngrok getting started page.
Once you run that command, you will see that it will create a ngrok.yml file containing your token. To configure the tunnel, you will need to edit the ngrok.yml config file that was just created. It should be something like /home/pi/.ngrok2/ngrok.yml.
Open the file with nano:
sudo nano /home/pi/.ngrok2/ngrok.yml
And add the following code AFTER your authtoken:
tunnels:
  minecraft-server:
    proto: tcp
    addr: 25565
    bind-tls: true
    console_ui: false
To exit the file, hit ctrl+x followed by y and enter.
This configures your tunnel to use TCP, and open on port 25565, which is the minecraft port. It also names the tunnel minecraft-server.
Almost done! Now you will create a file that will enable ngrok as a service, so that it is enabled on boot and it does not take up the foreground while ngrok is running.
sudo nano /etc/systemd/system/ngrok-client.service
Paste the following contents:
[Unit]
Description=ngrok client
After=network.target

[Service]
ExecStart=/home/pi/ngrok start --all -config /home/pi/.ngrok2/ngrok.yml
Restart=on-abort

[Install]
WantedBy=multi-user.target
As always, ctrl+x followed by y and enter to save and exit.
Then run the following commands to enable ngrok as a service
sudo systemctl daemon-reload
sudo systemctl enable ngrok-client
sudo systemctl start ngrok-client
To check whether it is working: systemctl status ngrok-client.service
If you see it is enabled, it is working!
To get the link to share with your friends to connect to the server, visit the ngrok status page.
Here you will see all your tunnels:
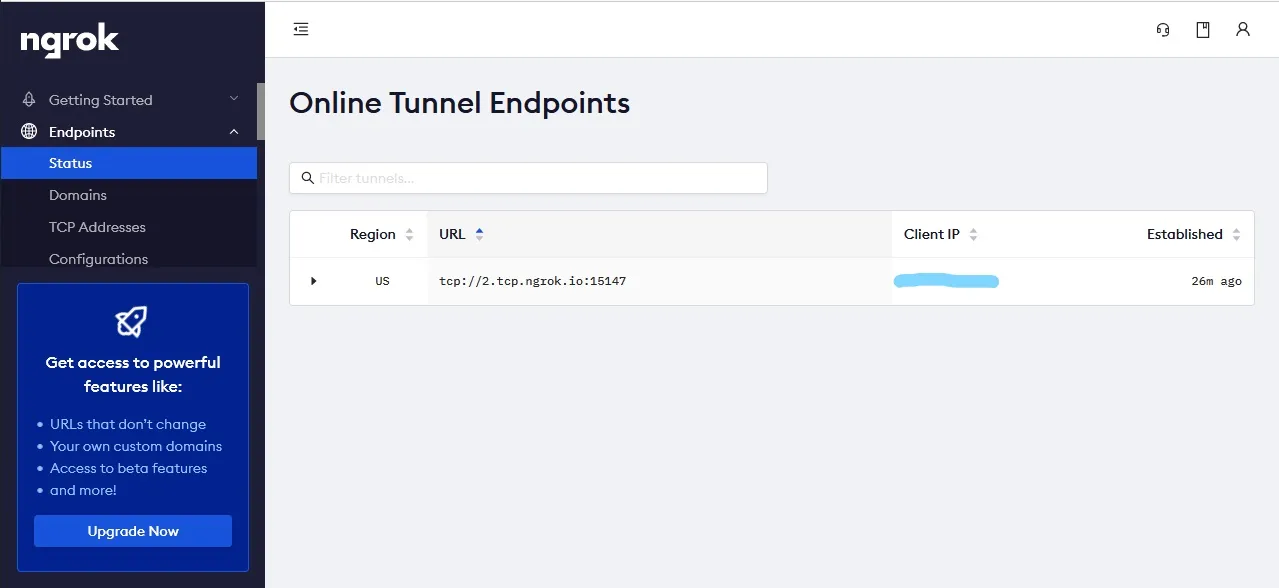
Note that the link for the tunnel has a prepending tcp://. You should remove this when pasting it into the server address bar inside minecraft.
You are done! Now with the server running and ngrok configured, you can disconnect from your ssh session and enjoy some Minecraft! To update the server to the latest version of Minecraft, you simply need to reboot the pi (assuming you have configured the server following this tutorial). keep in mind that the ngrok tunnels will sometimes change name, so every time you reboot the system, recheck the ngrok status page to get the updated link.