Introduction
Setting up a customizable website you can show to the world (for free) can seem like a daunting task. Here I will show you how you can get your site up and running in the cloud for free by following these steps.
Some linux experience is recommended, however this tutorial should guide you to the end result even if you do not have any experience.
For any website you will need a domain name. Even if you do not have a domain name yet, you can get a free one from freenom.com.
In order to set up your site on AWS, I will cover:
- Creating your EC2 instance.
- Configuring it to have a static IP.
- Installing dependencies for the web site you want to host.
- Creating DNS records to point your domain to your site.
The reason it will be free is that I will be utilizing Amazon Web Service’s Free tier. For this you will need to sign up for an account if you haven’t done so already.
This is not a tutorial that will show you how to build your website. It assumes you already have something developed locally for example, and want to deploy it.
I will cover serving a static site with NGINX, but you could modify the instructions to install WordPress or another CMS.
The point is that you will set up an instance in the cloud, which is essentially a computer running on AWS’s servers somewhere in the world. Once you have that, you can install the software necessary for hosting your site.
Without further ado, let’s get started!
Getting a domain name
If you already have a domain name, skip to the next section.
For those that might want a free domain name to get started, sign up for an account at and follow the steps at freenom.com for getting a domain name.
Once finished, move on to the next step.
Setting up the instance
Note: You will find similarities between this and my Setting up a minecraft server with AWS and Docker tutorial. This is because the process of creating and connecting to the instance is the same.
Firstly, you will need an AWS account. It is important to note that if you want to take advantage of the free tier advantages that I will use in this tutorial, your account needs to be less than a year old and you will have to check your usage limits, since the free tier is only available for one year from the account’s registration. The easiest way to do this is to make a new account to use for the server.
Disclaimer: When you set up an AWS account, you will be charged 1$ up front that will then be returned at a later date. AWS does this to check that the card does indeed exist.
Once you have the account set up, we need to create an instance.
Firstly, find and click on EC2 in the AWS management console.
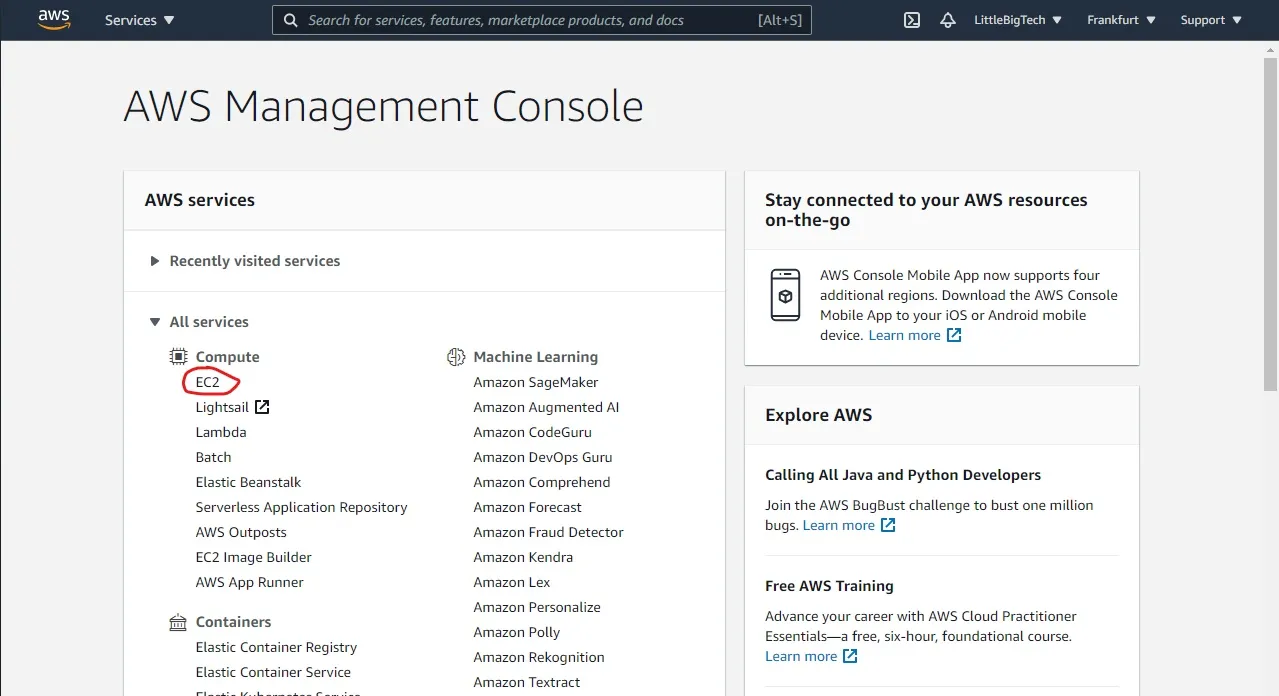
Then, click on launch instance.

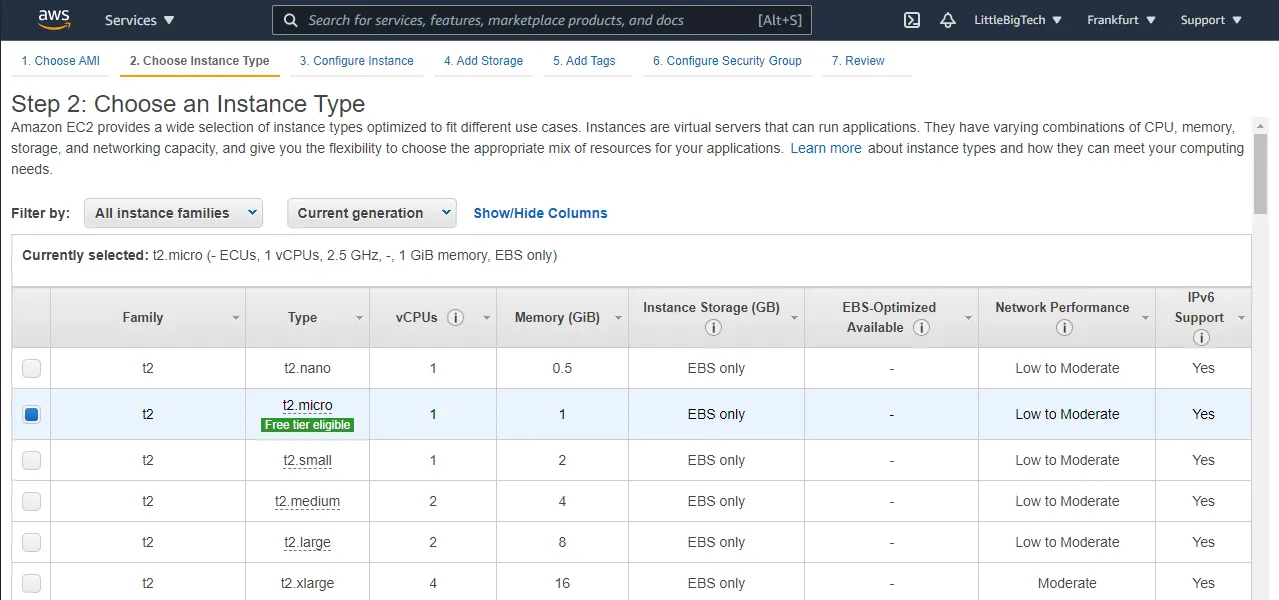
For this tutorial I used Ubuntu, however most other linux distros should work. Keep in mind that some of the commands will change if you decide to go for another distro (sudo apt install vs sudo yum install for example).

The instance type I left as t2.micro, since it is free tier eligible. Note that AWS only provides one core and one gigabyte of memory. It is the only free one available, and if you want/need more resources, you can choose an instance with more resources, but it will no longer be free. For most beginners setting up a simple site this will be enough.
Once selected, click review and launch on the bottom right corner. Leave the settings as they are, and ignore the security warnings, we will address them with the next step.
When prompted to select or create a key pair, select “Create a new key pair” and give it a name. I chose “webserver-key”. Before you launch the instance click on “Download key pair” and keep track of its location, since you will need this to connect to the instance.
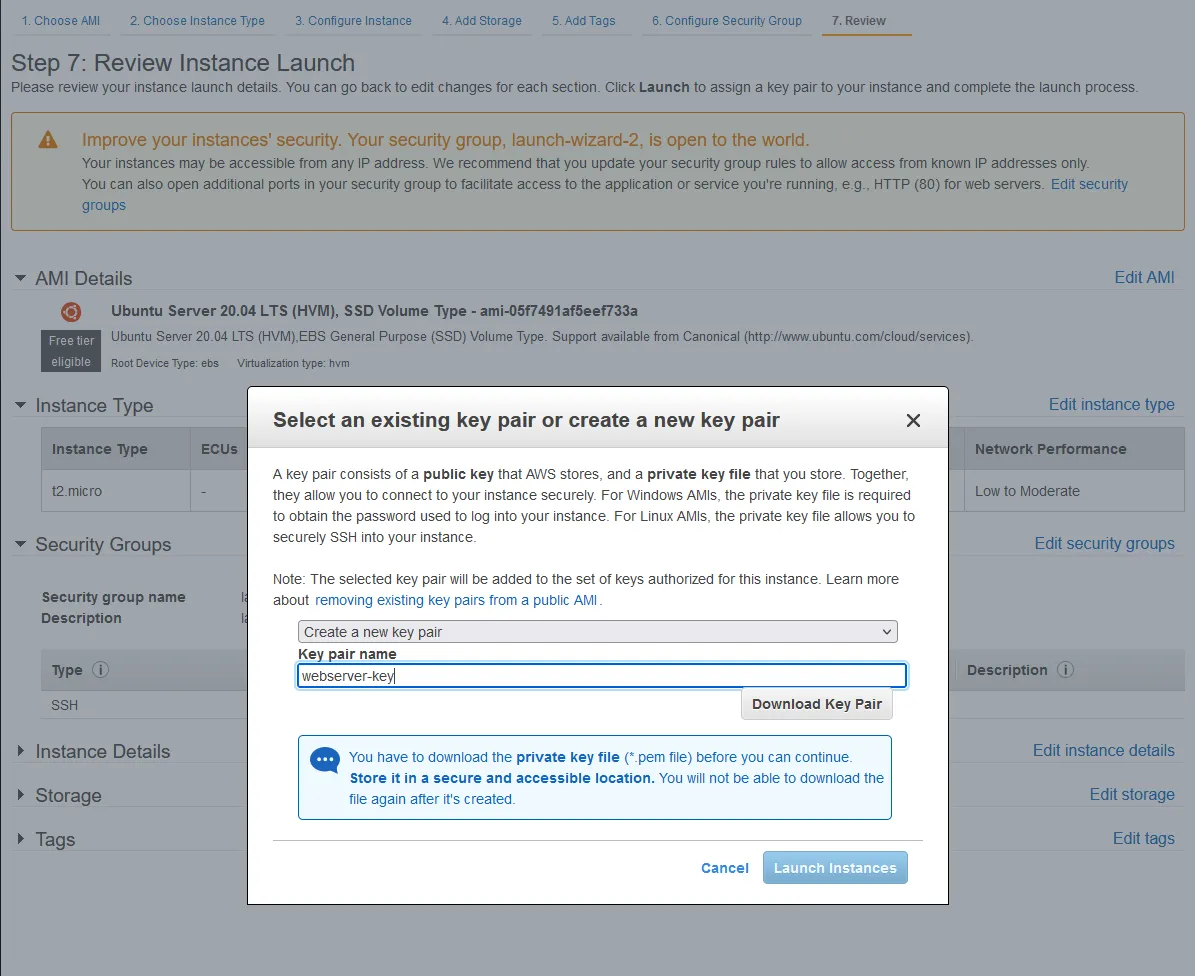
Once downloaded, select “Launch Instances” and your computer in the cloud will be up and running in a couple of minutes! Grab a cup of coffee while AWS gets it set up.
Assigning a static IP
Once the instance is up and running, we need to assign it a static IP. AWS provides us with that possibility with what is called Elastic IPs.
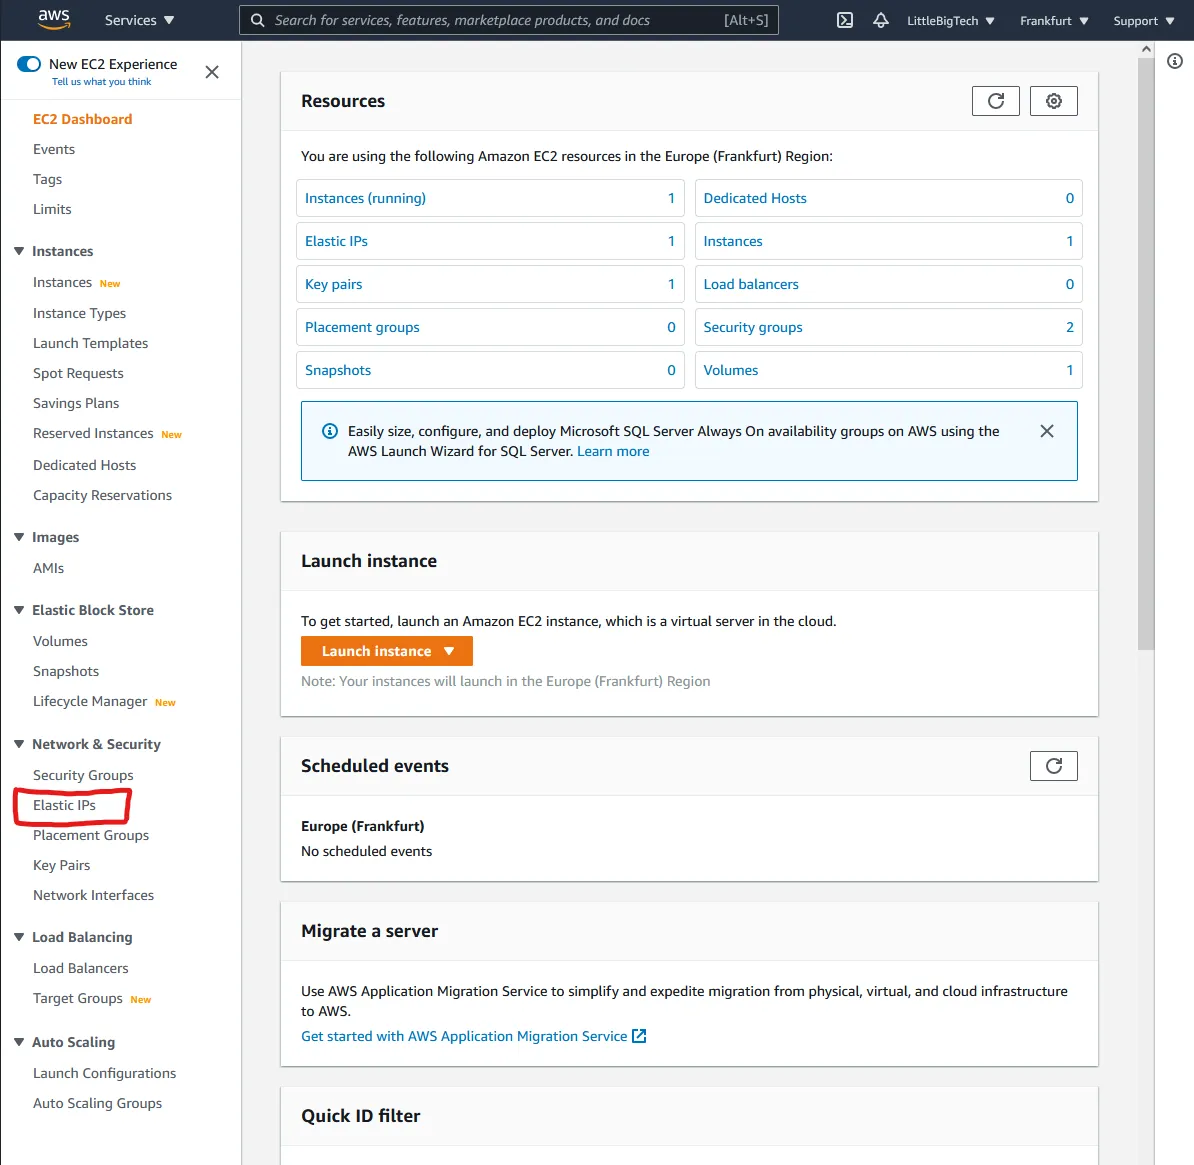
On your AWS EC2 console, open the left hand side tab and click on “Elastic IPs” under “Networking and Security”.
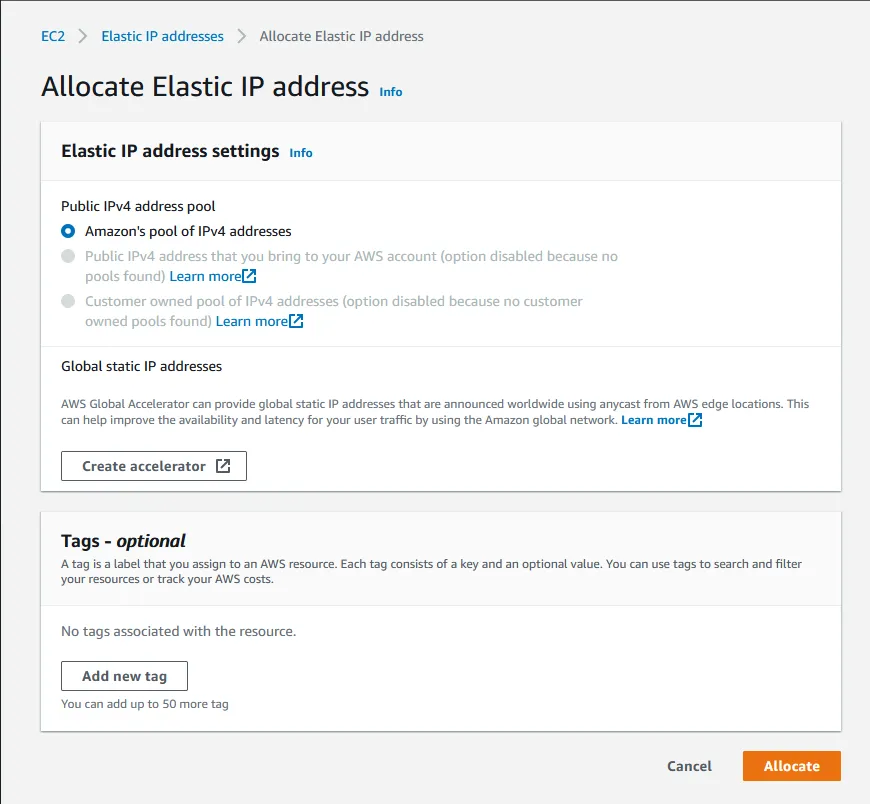
Then click on “Allocate Elastic IP Address”.

Leave the settings as they are and click allocate.
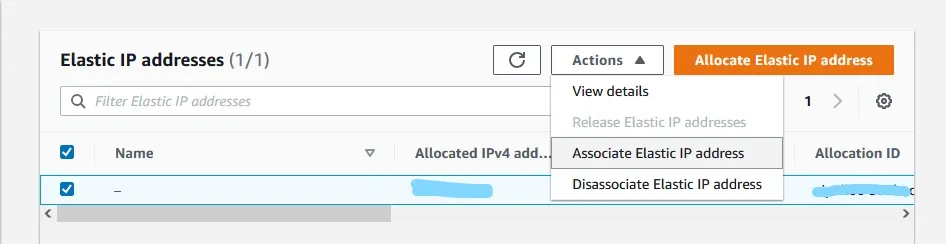
Now we must associate this IP to the instance that we are running. On the navigation pane on the left hand side, click on click on “Elastic IPs” under “Networking and Security”, same as before.
Choose the IP you just created and click on “Associate Elastic IP address”.
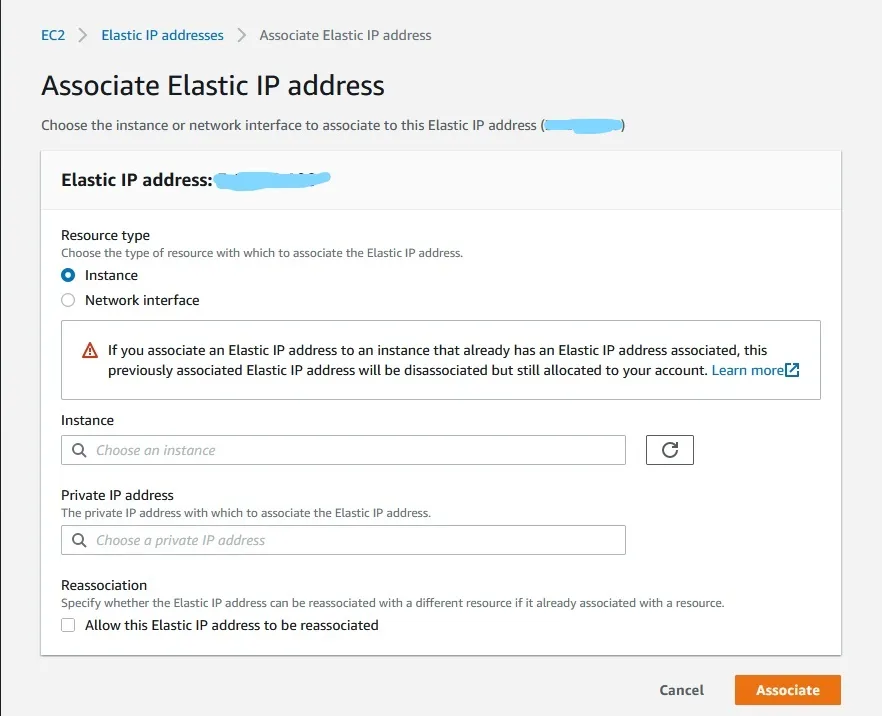
For resource type, leave it as instance or select it if it isn’t already, and choose the instance that you just created from the drop down menu. Leave the private IP address field blank and click “Associate”.
Done! Now you will need this IP address when connecting to the instance and also in order to create the DNS records to point your domain to this IP, so visitors can navigate to your site using your domain.
Connecting to the instance
In order to set up the server, we need to connect to the instance. Here is where that key file you downloaded before will come in handy.
Since there are many different ways to connect and different OS’s to connect from, and Amazon has already done a great job of explaining how to connect to your instance, follow the official AWS instructions on how to get connected using an SSH client here.
Once you are connected, we can start issuing commands.
Downloading and installing dependencies
As I mentioned before, this step may vary depending on what type of site you want to set up. For this site for example (Little Big Tech), I used Jekyll, a static site generator focused around posts. Therefore, all I need to do to serve it is install and configure NGINX, and configure NGINX to serve the site and where the site files are.
If you want to build a WordPress site for example, you will need to install WordPress and it’s dependencies. There is a great tutorial covering this process here.
Here is the process for installing and configuring nginx:
In the instance terminal, type the following:
sudo apt-get update && sudo apt-get upgrade
To install NGINX, you have 2 options.
The first is to simply type sudo apt-get install nginx. This will use the default Debian repository, and is what I recommend for most people, though the package version is usually slightly outdated.
If you want to pull from the official NGINX repository, you can follow the instructions here.
Once Installed, we need to set up NGINX so that it knows where the site files are and what configurations to use.
Configuring NGINX
Firstly, we need to create a file that will contain the configurations of the site.
Create a config file with the following:
sudo nano /etc/nginx/sites-available/yoursitename.conf
Replace yoursitename with the name of your site.
To this open file, add the following contents:
server {
    listen 80;
    listen [::]:80;
    server_name yoursitename www.yoursitename;
    root /var/www/html/yoursitename;
    index index.html;
    location / {
            try_files $uri $uri.html $uri/ =404;
    }
}
Once more, replace yoursitename with the name of your site. Use ctrl+x followed by y and enter to save and exit.
Here you have created a configuration file for your server. The most important line in this file is the root directive, which specifies where your website files are located. Here when deploying your site, you will add your files.
Now enable the site using the following command:
sudo ln -v -s /etc/nginx/sites-available/yoursitename.conf /etc/nginx/sites-enabled/yoursitename.net
Make the site directory:
sudo mkdir /var/www/html/yoursitename
Create a test index.html file in the folder you just created, adding some test content.
echo Hello World! > /var/www/html/yoursitename/index.html
And finally change permissions so that the directory is owned by the ubuntu user:
sudo chown ubuntu:ubuntu /var/www/html/yoursitename
Allowing traffic to the server
Before you navigate to the IP on your browser to test it out, we need to add a security rule to allow http traffic.
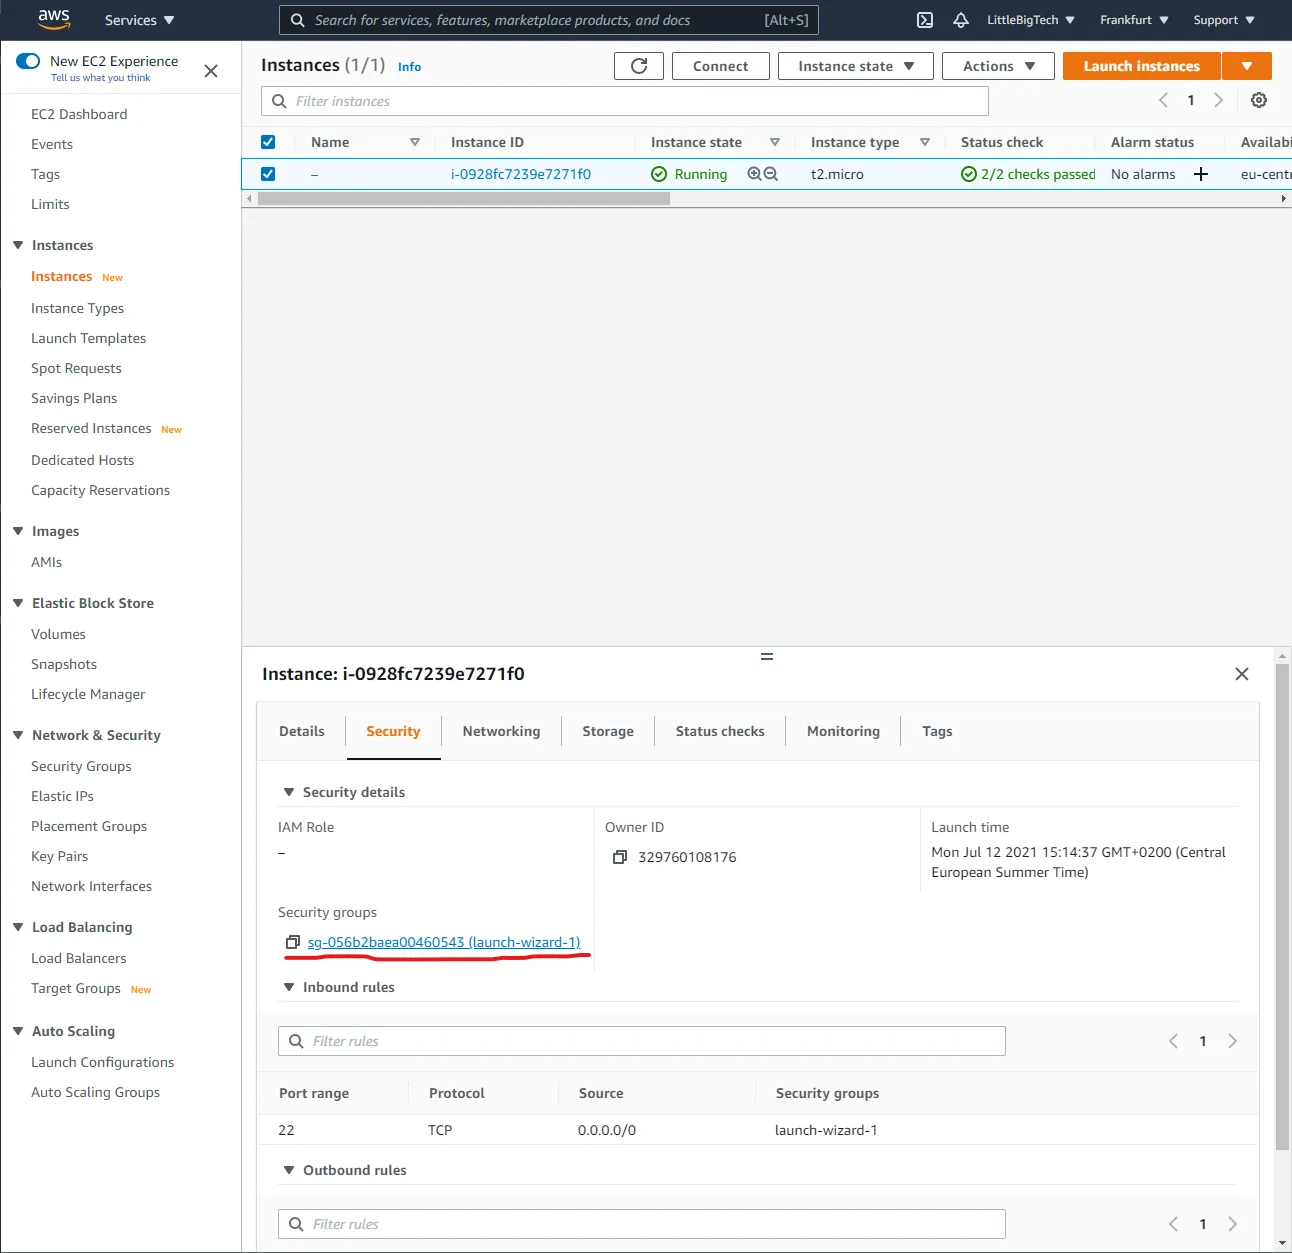
Select the instance and click on the security group of the instance.
Click on edit inbound rules.
Click on add rule.
Use port 80, and in the source field simply choose the 0.0.0.0/0 option.
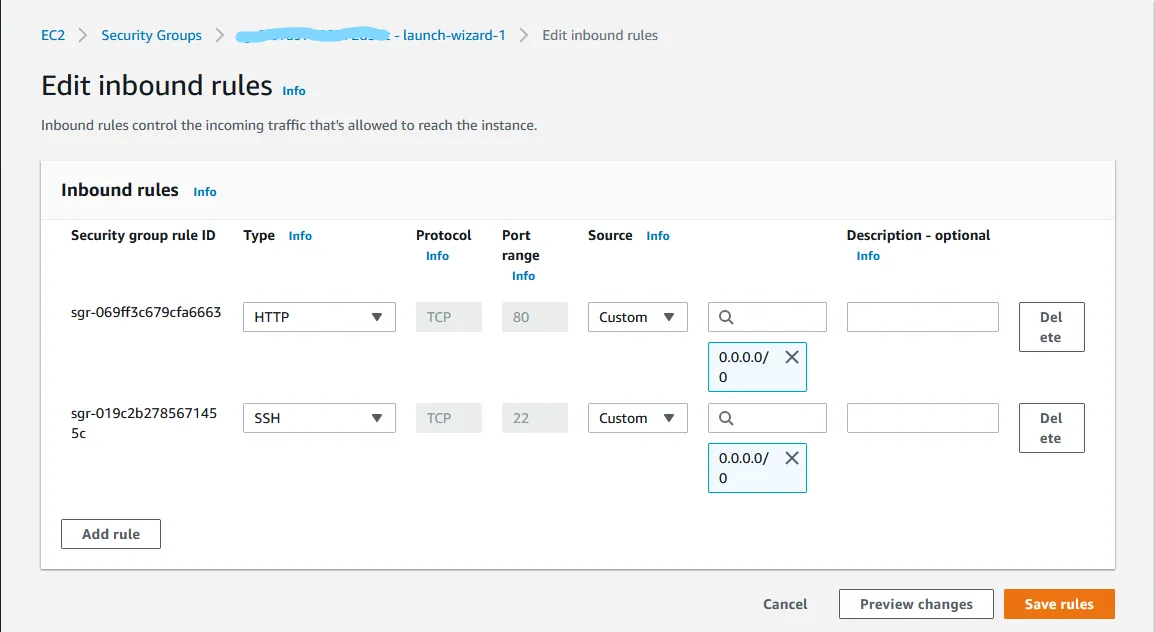
Click save rules.
Test it by going to the instance IP on your web browser and seeing if the site is working. You should see the “Hello World” message we set as the default content, or the index.html file you added yourself.
If not, double check the configuration files, especially the lines where you specify the location/path of your website files, since this is usually where mistakes happen.
If it did work, congrats! You now have a website on the internet. Next is linking it with your domain name by configuring a DNS record.
Creating a DNS record
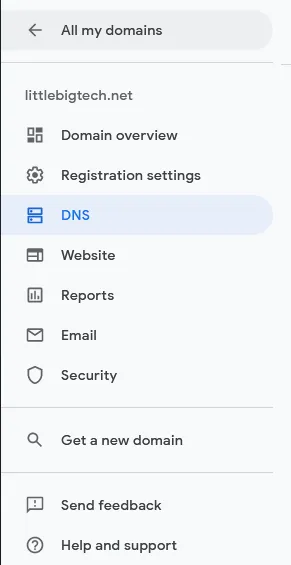
In order for visitors to be able to reach your site using your domain name instead of the IP address, you will need to create a DNS record. I used Google Domains to purchase my domain name, mainly because they offer WHOIS protection by default and the interface is simple and understandable. Your domain registrar’s interface might be different, but they have the same basic layout.
Once on the website, click on “DNS”.
Then click on “Manage custom records”.
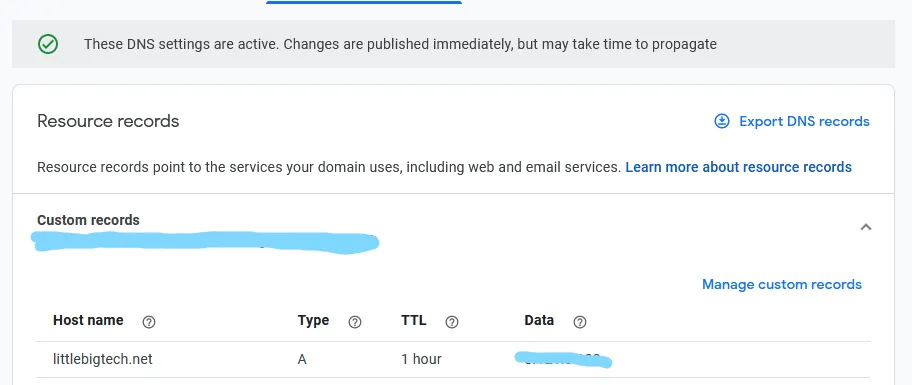
Add an A record, and in the data field insert the elastic IP that you created earlier. Leave the hostname blank as it will be automatically filled with your domain name and the TTL untouched. Click Save.
That’s it! Now these changes might take a while to propagate, so wait a couple of hours and then try navigating to the domain, and you should see your website.
Optional Steps
These steps are to improve the performance and security of the server.
The first thing you can do is add a swap partition to your instance. This will allow it to use some hard drive space as RAM memory in the event that your server uses up (tries to use) more memory than it has available. It is definitely a possibility is many users hit your site at the same time, and I highly recommend it since it is only a few commands and adding a single line to a file.
Adding swap
To add and enable swapping for this instance, do the following:
- Create a 2GB swap partition:
sudo /bin/dd if=/dev/zero of=/var/swap.1 bs=1M count=2048
This command takes a while so let it do its thing. When you get the prompt looking something like this you know it is done:

Then proceed with the rest.
- Make/mark it a swap partition:
sudo /sbin/mkswap /var/swap.1 - Change permissions:
sudo chmod 600 /var/swap.1 - Enable swapping:
sudo /sbin/swapon /var/swap.1
Finally, open the /etc/fstab file by typing sudo nano /etc/fstab and add the following line to the end of the file in a new line: /var/swap.1 swap swap defaults 0 0
The file should now look something like this:

Remember to save and exit with ctrl+x followed by y and enter.
To check that the swap partition is properly set up and working, type swapon -s. The output should show the swap partition you just created.

Adding https
You can pay for an https certificate for your site if you like, or you could use Certbot to configure, generate and manage https certificates on your server for free.
In order to use Certbot, simply go to their site and select the OS and software you are using, and they will very handily generate instructions for the setup.